The Homeowner’s Guide to Residential Solar Installation: A Step-by-Step Walkthrough
Making the switch to solar energy is one of the most powerful investments you can make in your home. It’s a decision that lowers your carbon footprint, reduces your reliance on the utility grid, and can lead to significant long-term savings on your electricity bills. However, the journey from initial curiosity to a fully operational residential solar installation can seem complex and filled with technical jargon. Where do you even begin?
For many homeowners, the process feels like a black box. What happens after you sign the contract? Who handles the permits? How do the panels actually get on the roof and start producing power? This guide is designed to open that box, providing a clear, transparent, and step-by-step walkthrough of the entire home solar installation process. We’ll demystify each phase, from the initial consultation to the final activation, so you can proceed with confidence and excitement.
Think of this as your roadmap to energy independence. We’ll cover the essential preparations, the critical design and engineering stages, and what to expect on installation day and beyond, ensuring you are a knowledgeable and empowered partner in your home’s clean energy transformation.
Step 1: Consultation and Site Assessment. The Foundation of Your Project
The first step on your solar journey is a detailed consultation and evaluation of your home’s specific characteristics. This foundational phase ensures that a solar installation is not only viable but also custom-tailored to provide the maximum benefit for your energy needs and property.
Initial Solar Consultation
This is a conversation, not a sales pitch. A reputable solar consultant will focus on understanding your goals. Are you looking to eliminate your electric bill, secure backup power for outages, or simply reduce your environmental impact? During this stage, you’ll need to provide your recent electricity bills (typically 12 months’ worth). This allows the consultant to analyze your annual energy consumption in kilowatt-hours (kWh) and understand your usage patterns. It’s like a doctor reviewing your medical history before prescribing a treatment; your energy usage history is the key to designing a healthy system.
The Home Site Assessment
Following the initial talk, a solar technician will visit your home to conduct a thorough site assessment. This is a critical data-gathering step that informs the entire system design. The technician will evaluate:
- Roof Condition and Characteristics: They will inspect the age and condition of your roofing material, measure its dimensions, and note the pitch (angle) and azimuth (the direction it faces). South-facing roofs are ideal in the Northern Hemisphere, but east- and west-facing roofs are also highly effective.
- Shade Analysis: Using specialized tools, the technician will conduct a shade analysis to identify any obstructions—such as trees, chimneys, or neighboring buildings—that could cast shadows on the roof throughout the day and year. Even small amounts of shading can impact performance, so this is a crucial step for accurate production estimates.
- Electrical System Evaluation: The technician will inspect your main electrical panel (breaker box) to ensure it has the capacity to integrate with a solar power system. In some cases, an upgrade to your main service panel may be necessary, which would be identified at this stage.
Step 2: System Design and Engineering. Creating Your Home’s Power Plant

With the data from the site assessment, the engineering team gets to work designing your custom solar energy system. This is where the technical details come together to create a blueprint for your home’s new power source, balancing energy production, aesthetics, and cost.
Custom System Design
Using sophisticated Computer-Aided Design (CAD) software, engineers will create a precise layout of the solar panels on your roof. This design will:
- Maximize Sun Exposure: Panels will be placed to capture the maximum amount of sunlight while avoiding shade spots identified during the assessment.
- Ensure Structural Integrity: The layout will account for roof vents and other obstacles and ensure the weight is distributed safely across your roof’s support structure.
- Optimize Aesthetics: The design will aim for a clean, symmetrical look that complements your home’s architecture.
You will receive a final proposal that includes this design, a list of the specific equipment to be used (panels and inverters), a precise estimate of your system’s annual energy production, and a detailed financial breakdown, including the total cost and projected savings.
Choosing the Right Equipment
Your proposal will specify the core components of your home solar panel system.
- Solar Panels: Most residential installations today use high-efficiency monocrystalline panels, known for their sleek black appearance and superior performance in limited space.
Step 3: Permitting and Paperwork. The Administrative Hurdles
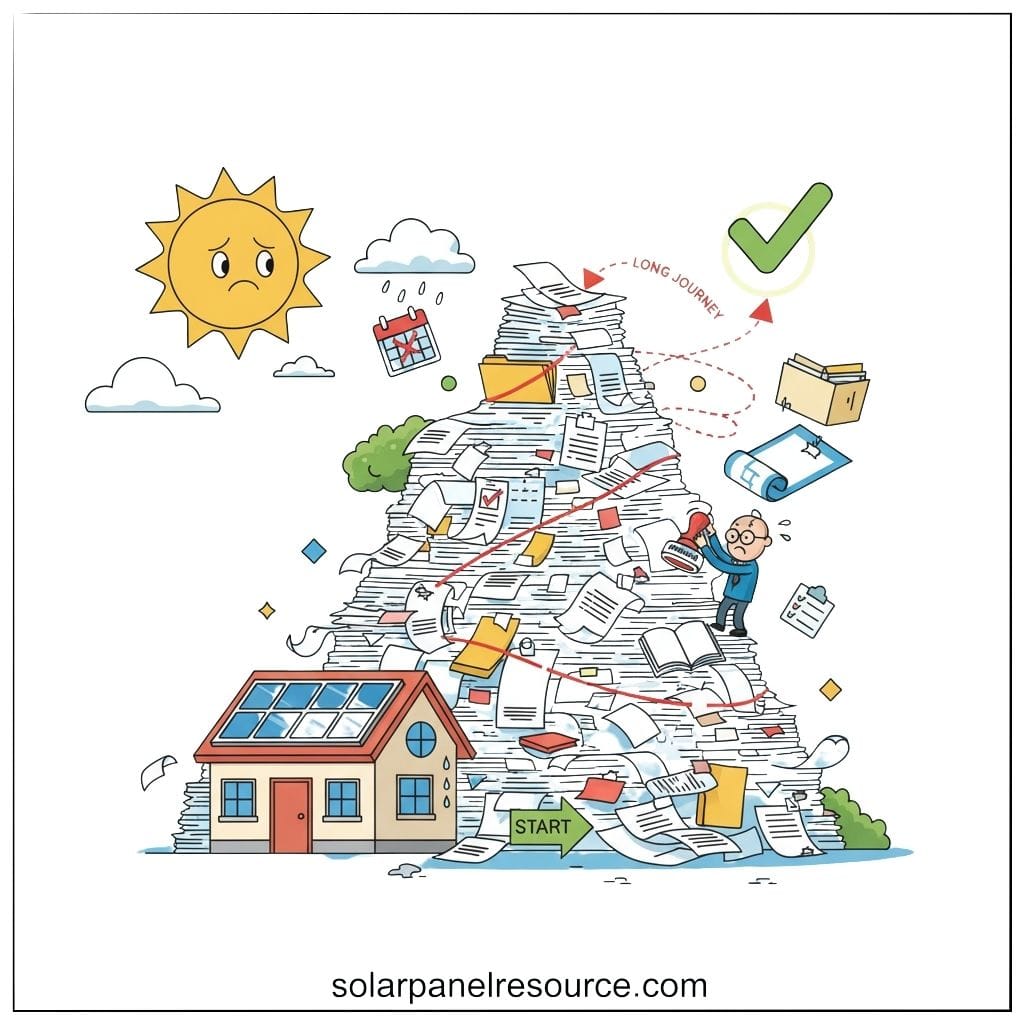
Before a single panel can be installed, your solar project must be approved by your local municipality and your utility company. While this phase involves a lot of paperwork, your solar installer will handle the entire process on your behalf. This is often the longest part of the entire timeline, sometimes taking several weeks or even months.
Local Building Permits
The detailed engineering plans are submitted to your city or county’s building department. They review the plans to ensure they comply with all local building codes, electrical codes, and safety regulations. This is a non-negotiable step that ensures your installation is safe and structurally sound. The National Renewable Energy Laboratory (NREL) works with local jurisdictions to streamline solar permitting, but the timeline can still vary greatly by location.
Utility Interconnection Agreement
In parallel, an application is sent to your electric utility company. This application informs them of your intent to connect a power-generating system to their grid. The utility reviews the design to ensure it meets their technical and safety standards for interconnection. You will typically sign an interconnection agreement that outlines the terms of connecting to the grid, including any net metering policies that credit you for the excess energy you send back.
Step 4: Installation Day – Bringing the Design to Life
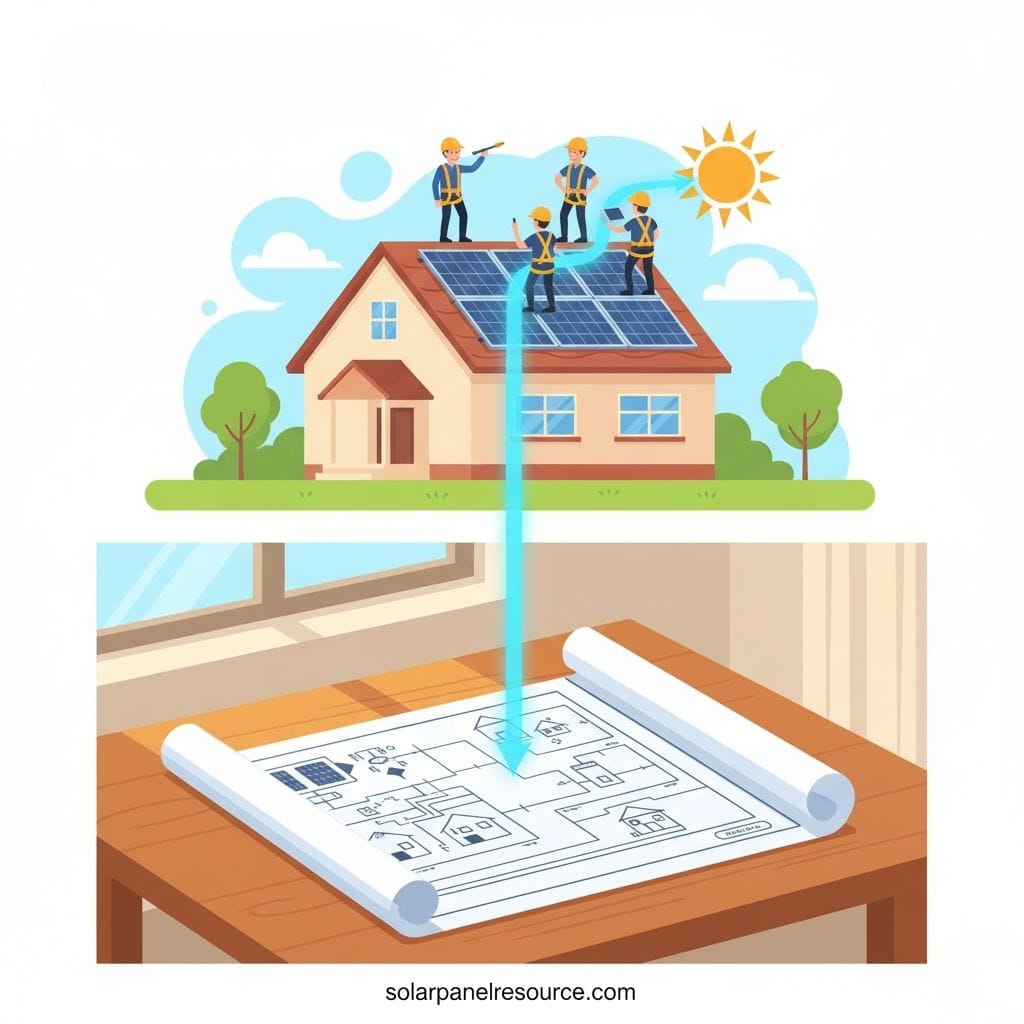
Once all permits and approvals are secured, it’s time for the most exciting part: the physical installation. A typical residential solar installation is completed in just one to three days by a dedicated crew of certified electricians and installers.
The Installation Process
Here’s what you can expect on installation day:
- Preparation: The crew will set up safety equipment, including ladders and harnesses, and stage the materials in a designated area.
- Mounting and Racking: The first step on the roof is to install the mounting hardware. Installers will attach stanchions or “feet” directly to your roof rafters and use industrial-grade sealants to create a waterproof seal. Rails, which form the racking system, are then attached to these mounts.
- Panel Installation: The solar panels are carefully brought up to the roof and securely clamped onto the racking system.
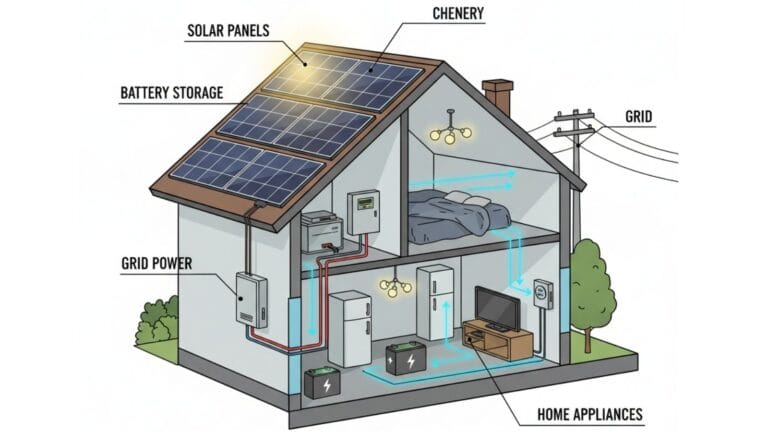
- Electrical Wiring: The crew, led by a licensed electrician, will wire the panels together. They will then run the wiring through a conduit down to the inverter, which is typically mounted on an exterior wall near your main electrical panel.
- System Connection: The final step is to connect the inverter to your home’s electrical system. This involves running the final wiring into your breaker box and installing a new, dedicated circuit for the solar system.
Step 5: Inspection and Commissioning. The Final Approvals
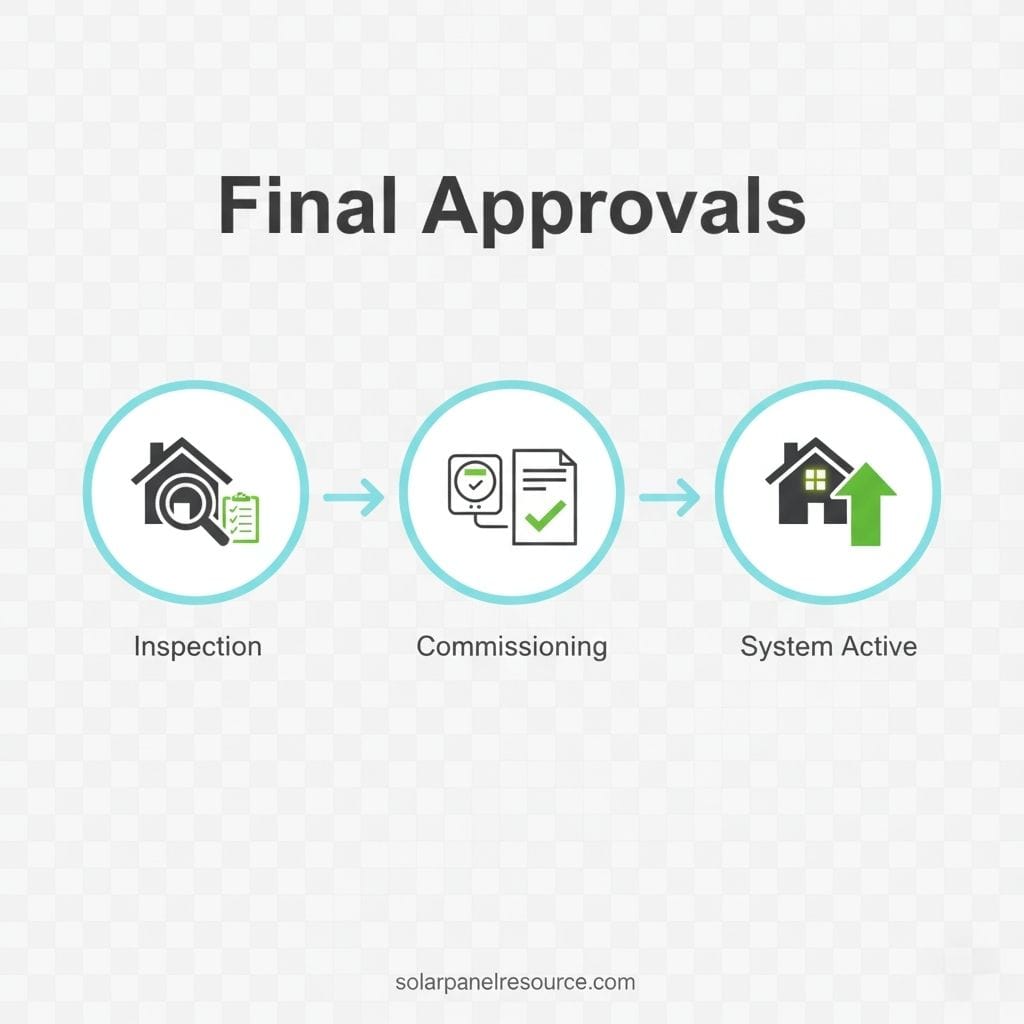
Your system is installed, but you can’t turn it on just yet. Two final green lights are needed before you can start producing your own clean energy.
Municipal Inspection
After the installation is complete, a final inspection must be scheduled with your local building department. An inspector will visit your home to verify that the installation was completed in accordance with the approved plans and complies with all electrical and building codes. This is a crucial quality and safety check.
Utility “Permission to Operate” (PTO)
Once the city inspection is passed, your solar company will submit the final paperwork to your utility company. The utility will then grant official “Permission to Operate” (PTO). They may also come to your home to install a new bi-directional meter (or reprogram your existing one) that can accurately track both the energy you consume from the grid and the excess energy you export to it.
Step 6: System Activation and Monitoring – Flipping the Switch
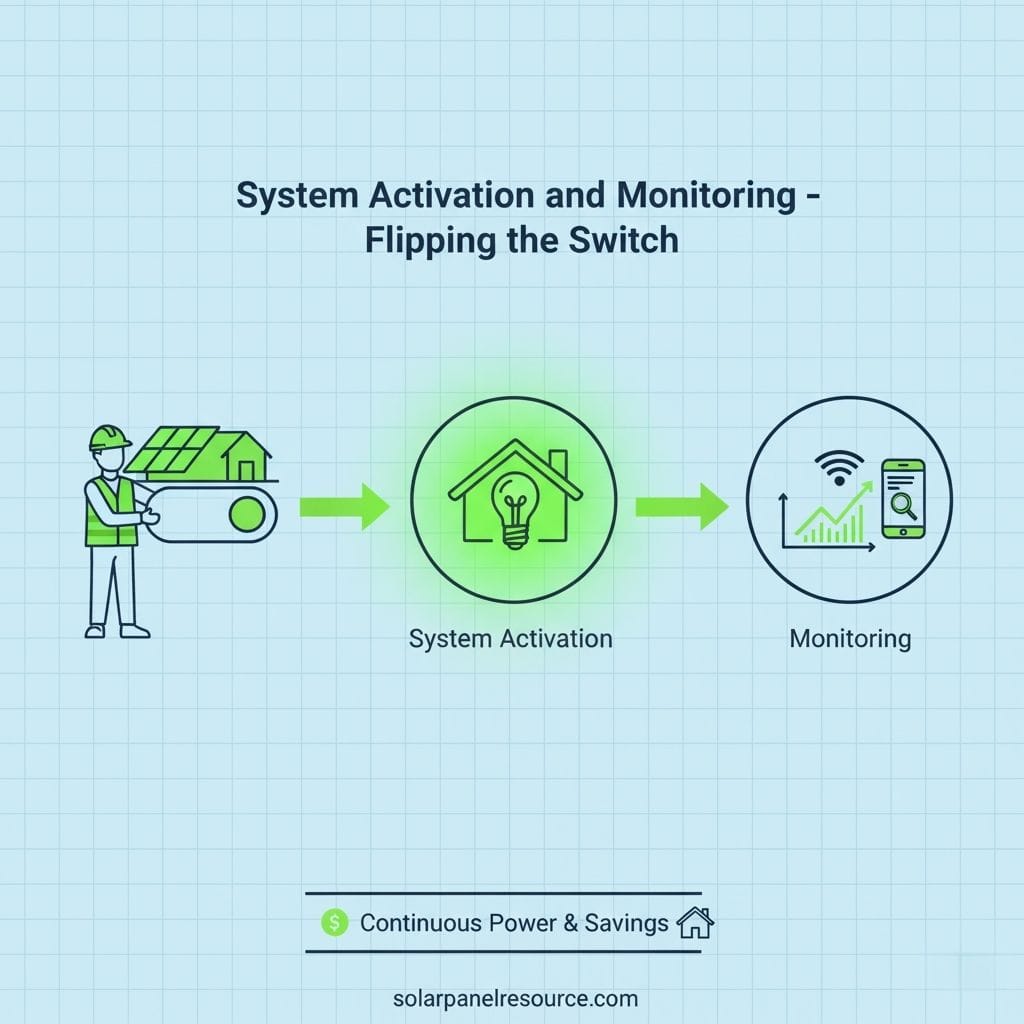
This is the moment you’ve been waiting for! Once you receive PTO from the utility, your solar installer will guide you through “flipping the switch” and activating your system. From this point forward, whenever the sun is shining, you will be generating your own electricity.
Your system will come with a monitoring application for your smartphone or computer. This allows you to track your energy production in real-time, see how much power your panels are generating throughout the day, and monitor your system’s health and performance over its lifetime.
Your Journey to Energy Independence
The path to a residential solar installation is a structured and well-managed process when you partner with a professional installer. From the initial data gathering and custom design to navigating permits and completing the final connections, each step is designed to ensure your system is safe, reliable, and optimized for your home. By understanding this six-step journey, you can move forward with clarity and confidence, knowing that the investment you’re making will power your home and your savings for decades to come.

Solar Energy Enthusiast & Renewable Energy Researcher
Vural’s journey into solar energy began four years ago, driven by frequent power outages and high electricity bills at his own home. He has since gained hands-on experience with both personal and commercial solar projects. At solarpanelresource.com, Vural shares his real-world insights and in-depth research to guide homeowners and business owners on their own path to energy independence.