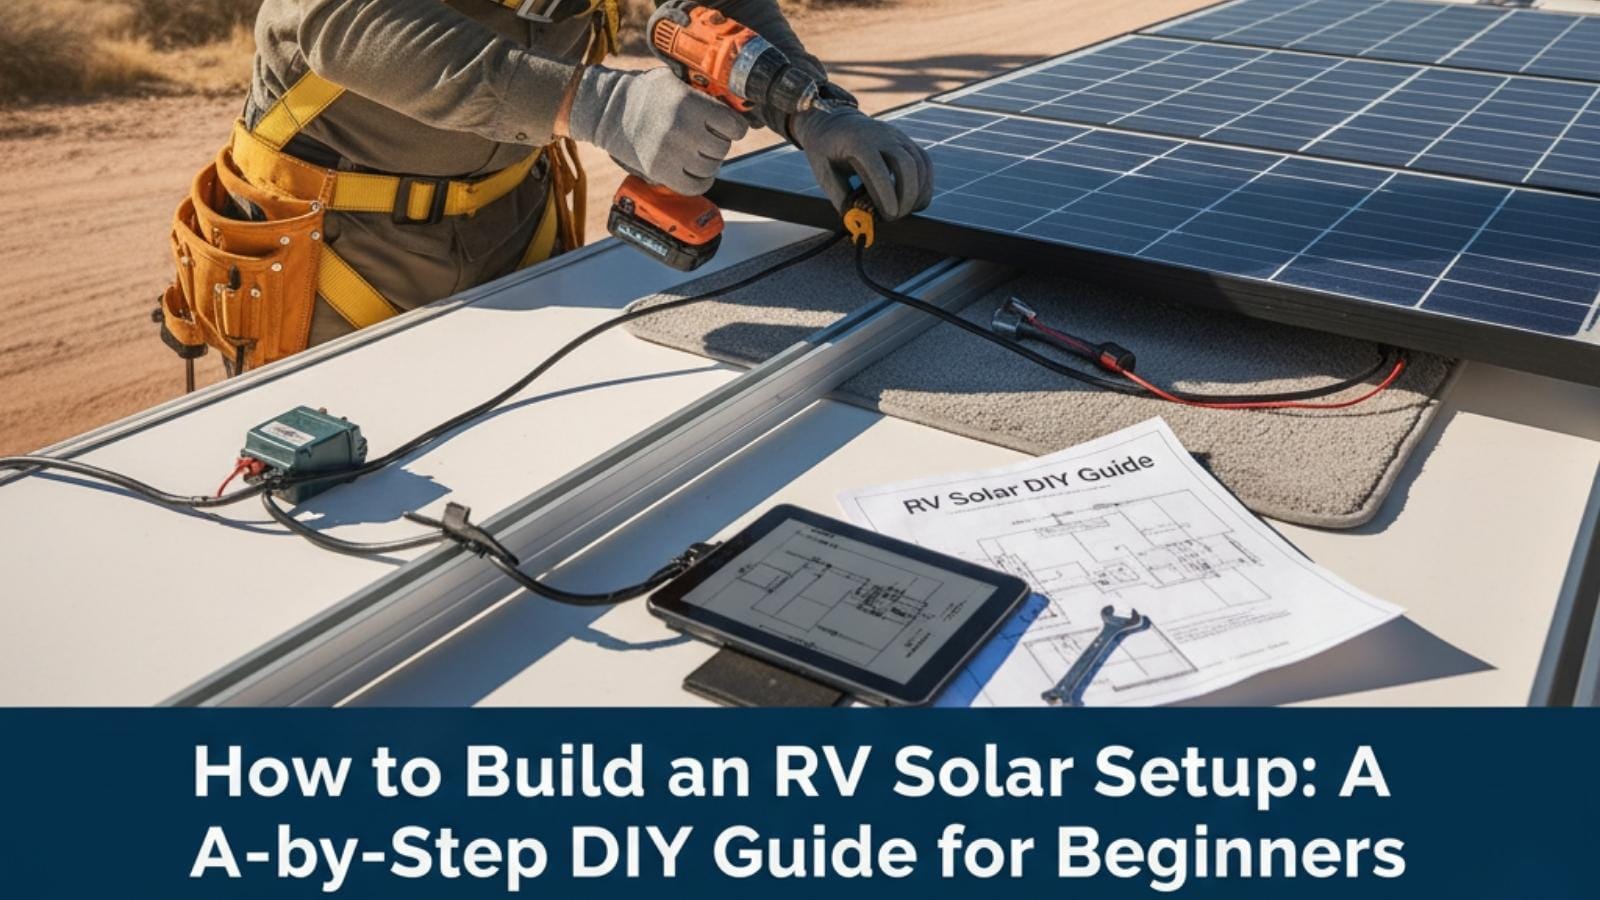
How to Build an RV Solar Setup: A Step-by-Step DIY Guide for Beginners
The allure of the open road is the promise of freedom—the ability to explore remote landscapes, wake up to breathtaking views, and live untethered from the grid. For RV owners, this freedom is often limited by the noisy rumble of a generator or the constant need to find a campground with electrical hookups. A DIY RV solar setup shatters these limitations, offering quiet, clean, and sustainable power wherever your adventure takes you.
Building your own RV solar system might seem like a daunting task reserved for seasoned electricians, but with careful planning and a step-by-step approach, it is a highly achievable project for a determined beginner. This guide will walk you through the entire process, from calculating your power needs to safely connecting your final component. We’ll demystify the jargon and provide the expert knowledge you need to build a robust system that powers your travels for years to come.
Before You Begin: Is a DIY RV Solar Setup Right for You?
Embarking on this project is a significant commitment of time and money. Before you start buying components, it’s crucial to weigh the pros and cons to ensure a DIY installation is the right path for your specific situation and skill level.
The Pros: Cost Savings and Customization
The most significant advantage of a DIY approach is the cost savings. By eliminating labor costs, which can be substantial, you can often build a more powerful and higher-quality system for the same price as a professionally installed one. Furthermore, building it yourself gives you complete control. You can hand-pick every component to perfectly match your power needs, budget, and the physical layout of your RV, creating a truly customized setup.
The Cons: Complexity and Safety Risks
This is not a simple weekend project. It involves working with electricity, drilling holes in your RV’s roof, and understanding how multiple complex components interact. A mistake in wiring or component sizing can lead to system failure, equipment damage, or, in the worst-case scenario, a fire. You must be meticulous, patient, and willing to learn. If you are not comfortable with basic electrical principles, a professional installation is the safer choice.
Step 1: Calculating Your Power Needs (The Energy Audit)
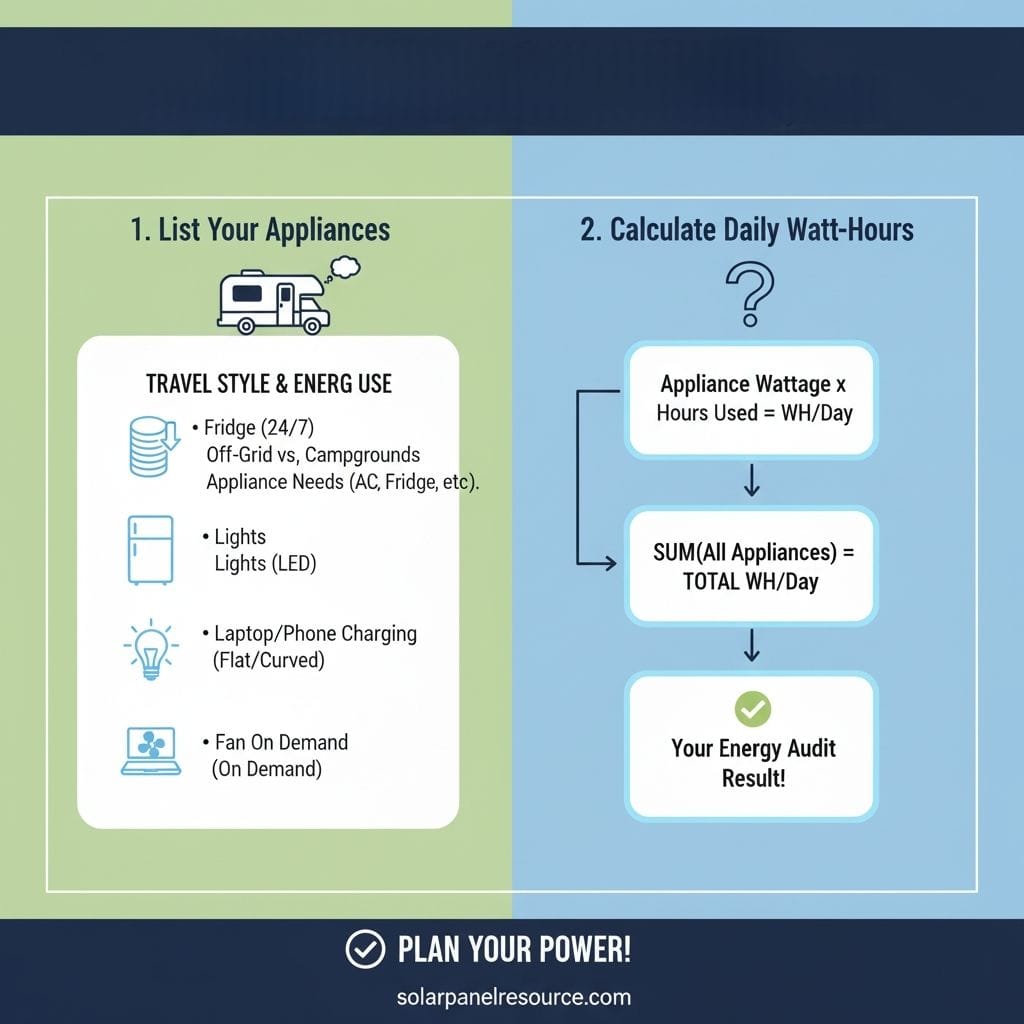
You can’t design a system without knowing how much power you need. This first step, the energy audit, is the most critical part of the entire process. Think of it as creating a “power budget” for your life on the road.
Listing Your Appliances and Their Wattage
Make a comprehensive list of every single electronic device you plan to use in your RV. Look for a label on each device that lists its power consumption in watts (W). If it only lists amps (A) and volts (V), you can calculate watts by multiplying them together ($Watts = Volts \times Amps$).
Your list should include everything:
- Lights (LEDs are most efficient)
- Water pump
- Refrigerator (12V compressor fridges are great for solar)
- Fans (MaxxAir, etc.)
- Laptops and phone chargers
- Television
- Coffee maker, microwave, or other kitchen appliances
Estimating Daily Usage (Watt-Hours)
Next, estimate how many hours per day you’ll use each device. Multiply the device’s wattage by its daily hours of use to get its daily watt-hours (Wh). For example, if you run a 15W fan for 6 hours, its daily consumption is $15W \times 6h = 90Wh$.
Sum up the watt-hours for all your devices to find your total daily energy consumption. It’s wise to add a 20% buffer to this number to account for inefficiencies and unexpected usage.
Example Power Budget:
- 12V Fridge (60W, runs 8 hrs/day): 480 Wh
- LED Lights (20W total, run 5 hrs/day): 100 Wh
- Water Pump (50W, runs 0.5 hrs/day): 25 Wh
- Laptop Charging (65W, charges 2 hrs/day): 130 Wh
- Total: 735 Wh
- With 20% Buffer: ~882 Wh per day
Step 2: Choosing Your Core Components
With your power budget calculated, you can now start shopping for the four main components of your RV solar setup. Quality matters here; investing in reliable components will save you headaches down the road.
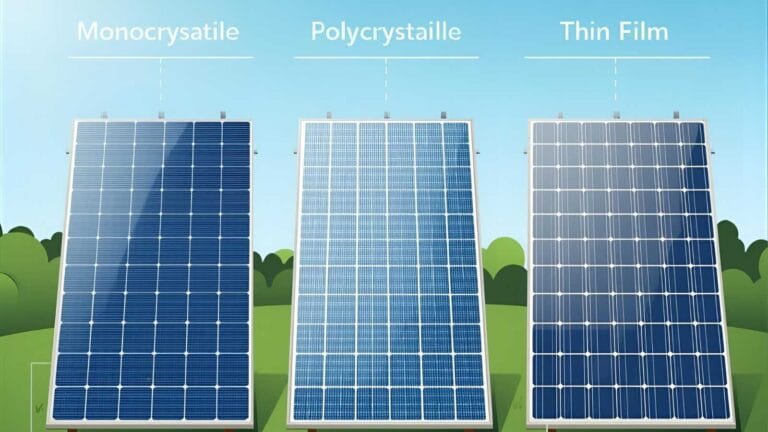
Solar Panels: Rigid vs. Flexible
Solar panels are the generators of your system. The two main types for RVs are rigid and flexible.
- Rigid Panels: These are the most common type. They are more durable, generally more efficient, and have a longer lifespan (25+ years). They are mounted on brackets that allow for an air gap underneath, which helps keep them cool and efficient.
- Flexible Panels: These are lightweight and can be glued directly to the roof, making for a stealthy, low-profile installation. However, they are less durable, have a shorter lifespan, and can lose efficiency due to heat since there is no air gap.
For most users, rigid monocrystalline panels offer the best balance of performance, durability, and cost.
The Battery Bank: The Heart of Your System
Your batteries store the power generated by your panels for use at night or on cloudy days. This is the single most important component for off-grid living.
- Lead-Acid (AGM/Gel): The traditional, lower-cost option. They are heavy and have a limited “depth of discharge” (DoD), meaning you can only safely use about 50% of their rated capacity without damaging them.
- Lithium (LiFePO4): The modern standard. They are significantly lighter, have a much longer lifespan (5-10 times more charge cycles), and can be safely discharged to 80-100% of their capacity. While the upfront cost is higher, their longevity and performance make them a better long-term investment for a serious camper solar panel system.
The Solar Charge Controller: The Traffic Cop
The charge controller is the brain that sits between your solar panels and your batteries. Its job is to regulate the voltage from the panels to prevent overcharging your batteries, which can destroy them. Think of it as a smart traffic cop managing the flow of energy.
- PWM (Pulse Width Modulation): An older, less expensive technology. It acts as a simple switch and is less efficient.
- MPPT (Maximum Power Point Tracking): A more advanced and efficient technology. It actively finds the optimal voltage and current to maximize the power harvest from your panels, often providing 15-30% more power than a PWM controller. An MPPT controller is highly recommended.
The Power Inverter: The Translator
Your solar panels and batteries operate on direct current (DC) power (typically 12V). However, your standard household outlets and many appliances (laptops, coffee makers) run on alternating current (AC) power (110V/230V). The inverter’s job is to convert DC power to AC power.
You must choose a pure sine wave inverter. Cheaper “modified sine wave” inverters can damage sensitive electronics. Size your inverter to handle the maximum wattage of all AC appliances you might run at the same time.
Step 3: Sizing Your System Correctly
Now, let’s match the component sizes to your energy audit from Step 1.
- Solar Panels: To calculate the solar wattage you need, divide your daily watt-hours by the number of “peak sun hours” for your typical travel locations. This varies, but using 4 hours is a conservative average for North America. For our 882 Wh example: $882 \text{ Wh} \div 4 \text{ h} = 220.5 \text{ W}$. So, a 300-400W solar array would be a good choice to ensure plenty of power, even on less sunny days.
- Battery Bank: To size your battery, multiply your daily watt-hours by the number of days of autonomy you want (days you can go without sun). For 2 days of autonomy: $882 \text{ Wh} \times 2 = 1764 \text{ Wh}$. Then, convert this to amp-hours (Ah) by dividing by the battery voltage (12V): $1764 \text{ Wh} \div 12 \text{ V} = 147 \text{ Ah}$. If using lithium (100% DoD), a 150-200Ah battery would be ideal. If using lead-acid (50% DoD), you would need to double that to 300Ah.
- Charge Controller & Inverter: The charge controller’s size (in amps) should be your solar array wattage divided by your battery voltage ($400\text{W} \div 12\text{V} = 33.3\text{A}$, so a 40A controller is safe). The inverter size depends on your AC loads. If your microwave is 1000W, you’ll need an inverter larger than that, perhaps 1500W or 2000W, to handle the surge.
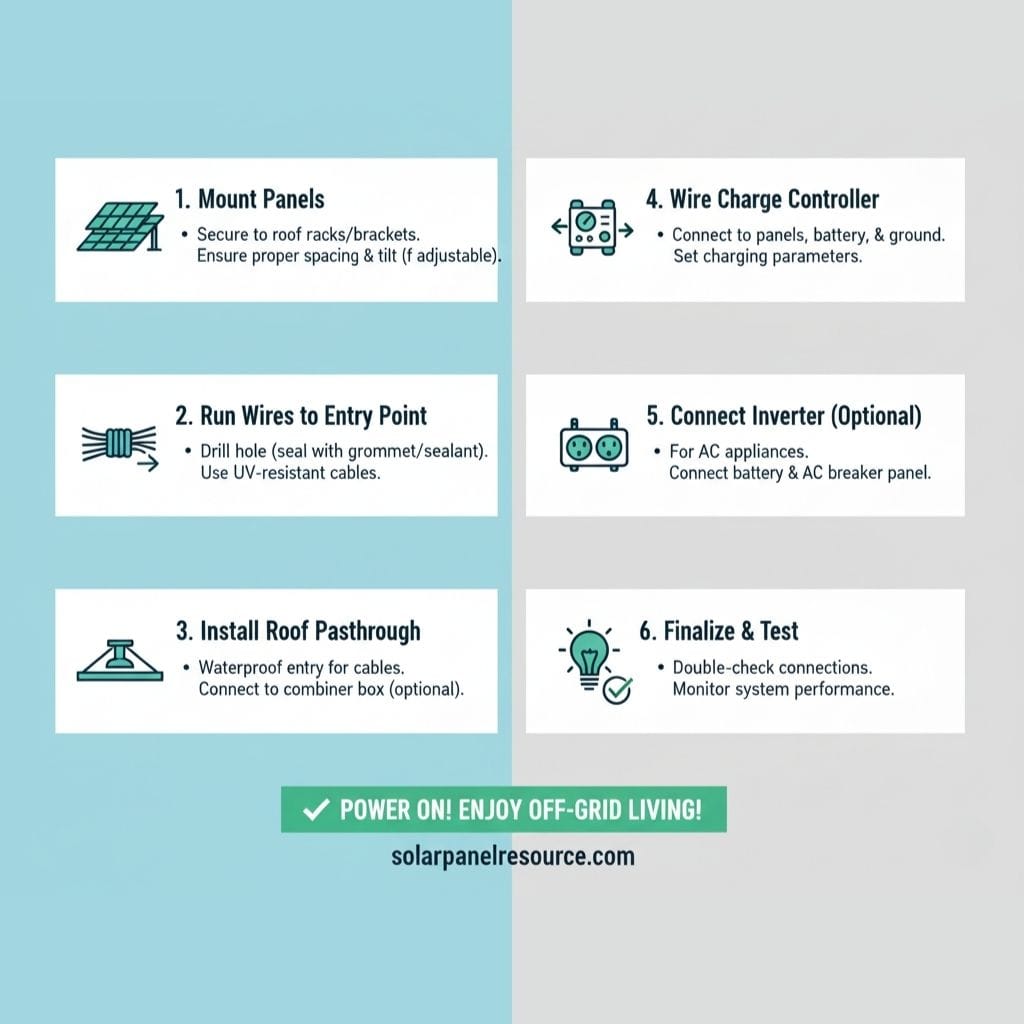
Step 4: The Installation Process – A Walkthrough
This is where planning meets action. Work slowly and double-check every step.
Safety First: Disconnecting All Power
Before you begin, disconnect your RV from any shore power. Turn off your main RV battery disconnect switch. Your new solar battery bank should be the very last thing you connect. Electrical safety is paramount; for detailed guidelines, consult authoritative sources like the Electrical Safety Foundation International (ESFI). When working with batteries, be aware that shorting the terminals can cause sparks, fire, or an explosion.
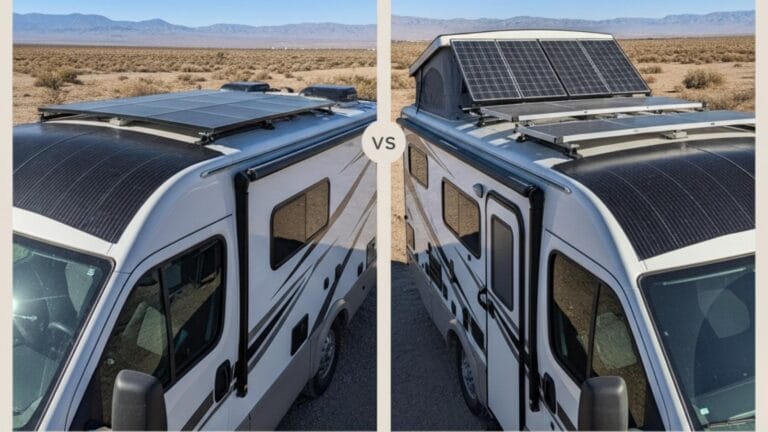
Mounting the Solar Panels on the RV Roof
Position your panels on the roof, avoiding areas that are frequently shaded by A/C units or vents. Secure the mounting brackets to the roof using well nuts or VHB tape and screws. The most critical step is weatherproofing. Cover every screw and the feet of the brackets with a generous amount of a quality self-leveling lap sealant like Dicor.
Wiring the Panels (Series vs. Parallel)
You can wire multiple panels together in series, parallel, or a combination. For beginners, a parallel connection is often simplest for 12V systems. This involves connecting all the positive wires together and all the negative wires together using branch connectors. This keeps the voltage at 12V while adding the amperage of the panels.
Drilling and Sealing the Entry Point
You will need to drill a hole in your roof to run the solar wires inside. This is often done through the roof into a cabinet. Use a waterproof cable entry gland. Feed the wires through, tighten the gland, and seal the entire plate and its screws with lap sealant, just like the panel mounts.
Connecting the Components: The Critical Wiring Order
To avoid damaging your equipment, you must connect everything in a specific order. ALWAYS connect the battery to the charge controller first, so the controller can detect the system voltage.
- Mount your charge controller, inverter, and fuses/breakers inside the RV, close to the battery bank.
- Connect the charge controller to the battery terminals. Be sure to install an inline fuse or circuit breaker on the positive wire, as close to the battery as possible.
- Connect the solar panel wires to the charge controller’s PV input terminals. Install a circuit breaker or disconnect switch between the panels and the controller for easy servicing.
- Connect your 12V fuse block (for DC loads) to the battery terminals.
- Connect your inverter to the battery terminals. Use thick, properly sized cables as per the inverter’s manual, and install a catastrophic fuse on the positive line.
Step 5: Testing and Final Checks
With everything connected, it’s time to power up. Uncover your solar panels and turn on the circuit breakers, starting with the one between the panels and the charge controller. The charge controller’s screen should light up and indicate that it is receiving power and charging the battery. Use a multimeter to verify you have 12V+ at the battery terminals and that your inverter is producing the correct AC voltage.
Common DIY Mistakes to Avoid
- Using Undersized Wires: Wires that are too thin can overheat and cause a fire. Use a wire gauge chart to select the correct size based on amperage and distance.
- Improper Fusing: Every positive wire connected to your battery bank must have a fuse or breaker sized appropriately for the wire it’s protecting. This is your most important safety feature.
- Inadequate Roof Sealing: A water leak can cause thousands of dollars in damage. Be generous with the lap sealant and inspect it annually.
- Poor Airflow for Inverter/Controller: These components generate heat and need adequate ventilation to operate safely and efficiently. Do not install them in a sealed, unventilated compartment.
Powering Your Adventures with Confidence
Building your own RV solar setup is an incredibly empowering project. It not only saves you money but also provides you with a deep understanding of your own mobile power station. By taking the time to plan your energy needs, select quality components, and follow a safe, methodical installation process, you can unlock a new level of freedom on the open road. The quiet hum of your inverter, powered by the sun, is the sound of true RV independence.

Solar Energy Enthusiast & Renewable Energy Researcher
Vural’s journey into solar energy began four years ago, driven by frequent power outages and high electricity bills at his own home. He has since gained hands-on experience with both personal and commercial solar projects. At solarpanelresource.com, Vural shares his real-world insights and in-depth research to guide homeowners and business owners on their own path to energy independence.